Teak and brightwork tell the story of how a boat is treated. They age quickly in sun and salt, and their condition frames everything else on board. Hulls can shine and canvas can look crisp, but if your caprails are gray and streaked or your stainless has bloom and tea stains, the whole vessel reads tired. Good marine detailing goes beyond cosmetics, and nowhere is that clearer than in the way you care for wood and metal.
The character of teak
Teak is a dense, oily hardwood that shrugs off water, holds fasteners, and gives you a forgiving non‑skid underfoot. Those oils, along with silica content, make it resilient and slow to rot. They also complicate how finishes bond, which is why one owner swears by a classic matte wash and another commits to a dozen coats of varnish.
Weather, latitude, and how the boat is used matter. A center console that lives on a lift sees UV punishment all week and needs minimal downtime between trips, which points toward breathable treatments and quick clean‑ups. A trawler with big caprails under a covered slip invites a full bright finish if the owner is willing to maintain it. The ideal approach starts with how the wood is installed, how flat it lies, whether bungs are proud, and what’s already soaked into the grain.
The four states of teak, and what each implies
Most teak ends up in one of four conditions: gray and oxidized, stained and blotchy, scrubbed raw and fuzzy, or sealed under a coating. Each starting point sets the path.
Gray and oxidized teak has weathered oil and UV‑bleached lignin at the surface. It can look romantic from a dock, but the top layer is fragile and will erode. Light, even cleaning with a pH‑balanced soap and a soft brush can keep it dignified if you prefer the silvered look, but you need to accept splinter risk over time.
Stained and blotchy teak comes from spills, metal runoff, or mold. Oxalic acid blends formulated for teak can even the tone without chewing the fibers, provided you keep them wet, agitate gently along the grain, and neutralize with a base rinse. Muriatic acid belongs nowhere near teak, despite the speedy result it offers to the impatient.
Scrubbed raw and fuzzy teak is the telltale of aggressive deck brushes and two‑part cleaners used as a cure‑all. You see raised grain, deep grooves where cross‑grain scrubbing occurred, and a rapid return to dingy. The remedy is restraint: reduce the stroke pressure, switch to a tampico or flagged nylon brush, and limit two‑part chemistry to once or twice a season, not once a month.
Sealed teak includes anything that forms a film or penetrates with resin. Varnish delivers the classic wet‑look gloss and unmatched UV inhibitors in multiple layers. Modern synthetics, from single‑part urethanes to oil‑modified acrylics, can bridge the gap between oil and varnish. Penetrating oils refresh quickly but need discipline to avoid buildup and mildew.
Grain, tools, and the art of not doing too much
The most expensive part of teak care is the material you cannot put back. Every heavy scrub takes away life. The best detailers carry more brushes than bottles, and the right brush does half the work.
I keep three on the cart. A very soft flagged nylon for day‑to‑day soap and rinse, so you lift salt without abrading peaks. A natural tampico for spring cleaning with a mild one‑part brightener. And a very fine Scotch‑Brite pad for tight corners where stains live, with fingertip pressure and only along the grain. Pull tape lines at hardware and seams so cleaner does not live under fittings. Rinse from the top down and never let chemistry dry on wood.
Sanding teak on a boat is a surgical act. Random orbital sanders with a soft interface pad and 120 to 150 grit can level a caprail before varnish, but on decks you trade profile and safety for looks. If you absolutely must sand a walking surface, think in terms of a feather pass to knock fuzz, not a resurfacing. Vacuum extraction helps, and a final wipe with denatured alcohol will show you high and low spots before you commit to a coating.
Choosing a finish: oils, synthetics, and varnish
Owners ask for one product that does it all. That does not exist. Pick based on look, maintenance window, climate, and the way you use the boat.
Traditional oils darken the wood and bring a warm, matte glow. They penetrate, so they do not peel, and you can refresh in an afternoon with a rag and patience. They also feed mildew rv detailing in humid marinas if you overapply, and they offer the weakest UV protection. On a working deck with shoes and sun, a light oil regimen can make sense as long as you keep it thin and frequent.
Synthetic sealers promise the ease of oil with more UV resistance. Think of them as penetrating resins that leave a slight film. They do a good job on rails and trim where you want color hold without a varnish routine. The failure mode is less dramatic than varnish, often a chalky fade rather than sheets of peel, which buys you time between refinish cycles.
Varnish is still the standard for brightwork that stops a passerby in their tracks. Built correctly, 8 to 12 coats over a good epoxy sealer on new or stripped wood gives you depth, clarity, and a surface you can maintain with scuff and recoat. The caveat is time. You need dry weather, temperature in range, a clean space, and the discipline to wait. And when varnish fails, it fails at edges and around hardware first, so you have to chase those seams before water gets under the film.
A judgment call we make a lot: varnish caprails and handholds that want to shine, but choose a lower‑build sealer for toe rails and heavy‑traffic areas. You keep the eye candy where it counts and reduce labor where feet, fenders, and lines do the damage.
Brightwork: stainless and chrome deserve technique, not muscle
Stainless can stain. It resists rust by forming a passive chromium oxide layer at the surface, and chlorides in seawater try hard to defeat that layer. You get tea staining, especially under fastener heads and on vertical surfaces that do not see rain. Chrome‑plated brass adds another wrinkle because the plating is thin and you can cut through to the yellow if you chase perfection with the wrong compound.
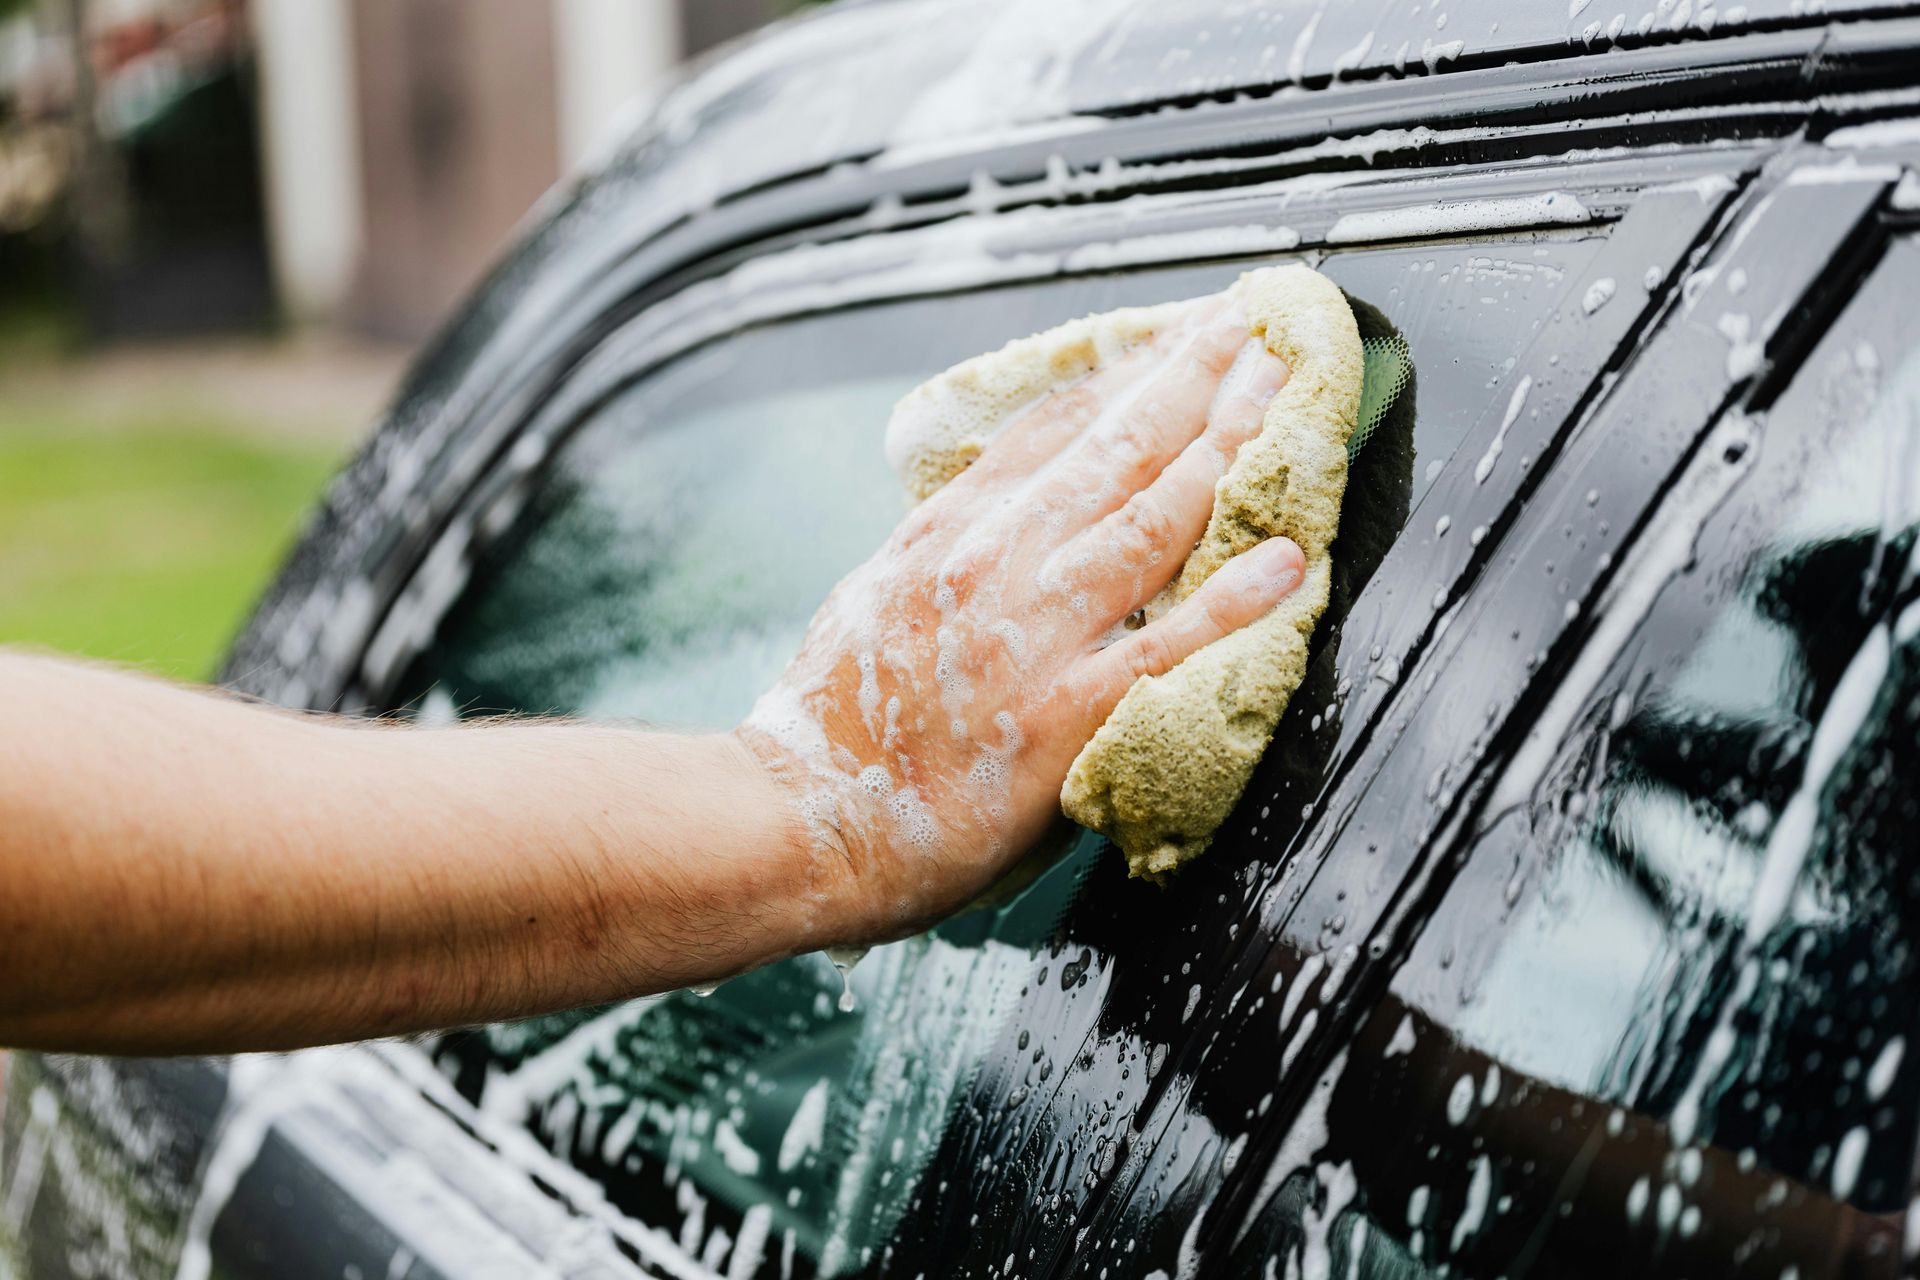
Regular rinsing buys you more than any paste. Start with a thorough freshwater wash and let the hardware cool in the shade. Use a pH‑neutral soap so you do not etch adjacent paint or gelcoat. Masking adjacent varnish with low‑tack tape keeps polish residue out of pores, which saves hours later.
For tea stains on stainless, a mild oxalic gel applied sparingly loosens the brown without clouding. Rinse, dry, and then polish with a dedicated metal polish on a microfiber or a felt cone in a drill at low speed. Work small areas, turn cloths often, and stop when the haze lifts. An IPA wipe removes residual oils before you protect the finish. On chrome, skip the oxalic unless you test a hidden spot, and pick a polish with minimal cut. If you see yellow after a few strokes, you have already gone too far.
Protection matters. A polymer sealant on metal reduces chloride contact and makes the next wash easier. Some ceramic coating products bond well to stainless and chrome if you decontaminate properly. On rail bases, stanchions, and windshield frames that see constant spray, a ceramic can extend the clean period from days to weeks, but it does not remove the need to rinse.
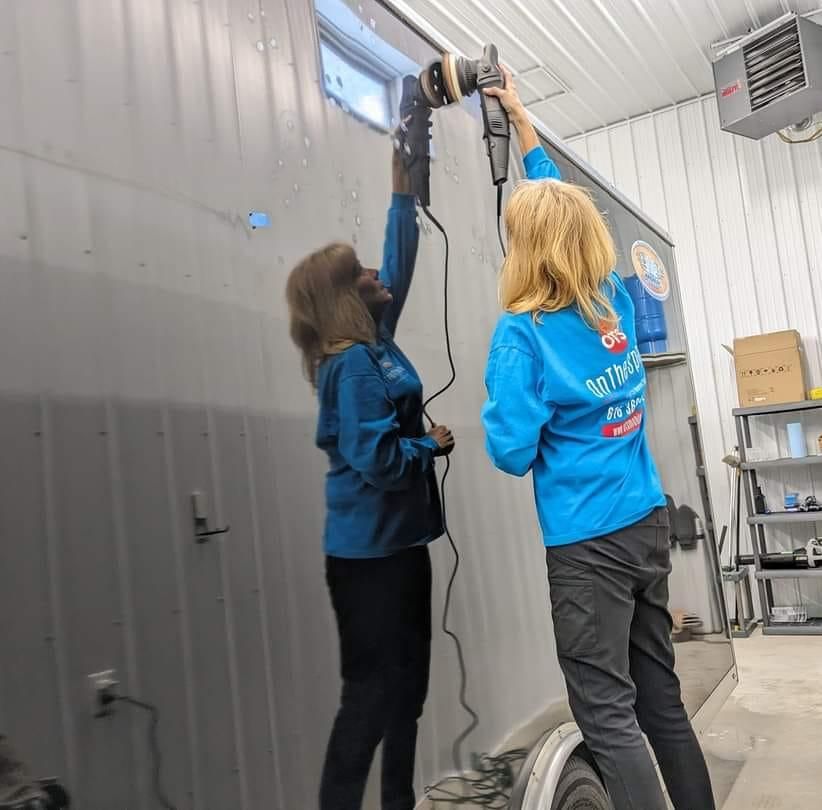
How On the Spot Mobile Detailers stages a teak and brightwork project
Scheduling around weather, tides, and access is the hardest part to explain to a new owner. The process we use at On the Spot Mobile Detailers balances thorough prep with the least possible aggression, because the one thing you cannot buy is more teak. When we’re working a full caprail and deck set, we stage the job in loops rather than surfaces, so each pass has time to cure before the next step begins.
We start with a complete freshwater rinse from masthead down, including hard‑to‑reach antenna mounts and under‑rail hardware. Salt hiding at those seams will wick into wood the moment you wet it with cleaner. Teak gets its own round: a gentle wash, then spot treatment for iron staining at drain slots and chainplates. While the wood dries, hardware receives an oxalic gel where needed and a stainless polish pass. That order matters. Polish dust on wet teak is a smear you will chase all day.
Only then do we choose chemistry for color correction on the wood. If a one‑part brightener lifts the gray evenly, we stop there. If we see deep blotches or black watermarks, we plan a limited two‑part cycle with active monitoring, neutralization, and copious rinsing. Any sanding is targeted to high traffic spots and corners with grain lift, never to chase color, only to level texture for safety and finish.
Coating choice is last, not first. Some owners ask for oil because they can maintain it themselves between visits. Others want a varnish showcase on the forward cap, with a penetrant on the working aft quarter where lines live. We map that on day one and mask accordingly. The point is not to impose a standard look, but to build a plan the crew can live with between services.
Preventing damage from other detailing work
Marine detailing touches everything, and what you do to the hull can ruin your brightwork if you do not plan. Cutting compound on a wool pad will find its way into varnish pores if the wind picks up. Acid‑based hull cleaners drip from gunwales where they meet caprails. Even a routine top‑side ceramic coating appointment demands extra masking, because high‑solids products flash to a hard edge if they overlap varnish.
A practical rule: wood and metal get detailed before heavy machine work on gelcoat. If we are doing paint correction on a topside, we bag and tape rails, cleats, and fittings after they are polished and sealed. On the Spot Mobile Detailers learned that lesson the expensive way from a thirty‑eight‑foot sportfish with fresh varnish and a rubrail line that shed compound dust. The fix took two days of finessing seams with oil and cotton, and a thin top coat to bury micro tracking. It was avoidable.
Edge cases: deck teak around caulk seams, scuppers, and fasteners
Teak decks often have black polysulfide seams. Two‑part cleaners can soften those seams if left to dwell, and sanding will dish the soft sealant faster than the timber. Use light pressure at seams, and change stroke direction so you do not cut a channel. At scuppers, water carries iron and organic acids that darken wood. A small bottle brush and frequent freshwater flushes keep those corners from becoming permanent stains.
Fasteners that bleed are a sign of compromised bedding or hardware that no longer isolates dissimilar metals. Wiping rust off the surface treats the symptom. The cure is to rebed, which might not be a detailing task, but it is your job to say it out loud. Detailing can maintain, it cannot fix a bedded leak under a stanchion plate.
Varnish workflow, from bare timber to shine
When a rail has gone too far, there is freedom in a full reset. Strip with a heat gun and a sharp scraper, moving steadily to avoid scorching. Follow with a light sand at 120 grit to level, then 150 to refine. Vacuum, and wipe with a clean solvent like denatured alcohol. Many detailers now seal with a low‑viscosity epoxy designed for brightwork. It locks fibers, evens absorption, and gives you a flatter, more reflective finish. The film also blocks moisture ingression that can blow varnish from below.
Build coats come next. Early passes should be thinned per manufacturer to improve flow and grip. Tip with a high‑quality brush, and chase runs before they set. Sand lightly between coats with 220 to 320 grit as you build, and inspect in raking light. A common mistake is trying to get to glass at coat four. Depth and clarity arrive around eight to ten coats, and you will see it the morning after a good build when the wood seems to float under the film.
Final rub out is optional for a mirror finish, but you can overdo it. If you compound varnish too aggressively, you open micro scratches that hold grime. A hand rub with a fine finishing compound and a clean cloth, followed by a polymer or wax formulated for varnish, is more than enough.
Brightwork polishing and protection in practice
Polishing stainless on board is not the same as working a bumper in car detailing. You deal with salt, tight radii, and adjacent porous materials. Use small applicators, work methodically, and change textiles often. If you run a machine, choose a variable speed tool and stay slow. Heat is the enemy of plating and seals.
After polishing, apply a thin sealant or a ceramic coating appropriate for metal. Cure times matter. If a squall is coming in three hours, pick a product with a short flash and a forgiving window, not the hardest coating on the shelf. On sailboats, pay attention to lower shrouds and turnbuckles, where airborne salt strikes first. A little time there saves staining that can sneak into deck wood below.
Where auto detailing know‑how helps, and where it hurts
If you come to boats from auto detailing or mobile detailing, some instincts will save you time and risk, and others will trip you.
Paint correction skill translates, but gelcoat is thicker and more porous than automotive paint, and it loads pads faster. Ceramic coating discipline helps with staging, lighting, and cleanliness. Headlight restoration teaches you to step through abrasives and read clarity changes, a useful habit for transparent finishes like varnish. Interior coating experience sharpens your masking and your sense for cross‑contamination, both critical when you work adjacent surfaces with different chemistries.
Where it hurts is polish choice and speed. Compounds that feel tame on clear coat can burn through chrome plating on a cleat. Wheel coating tricks do not map cleanly to stainless exposed to salt and heat cycling. Residential coating products can make teak slick if applied with the wrong intent, turning a safe deck into a skating rink. Know when to leave an automotive darling in the van.
Maintenance intervals that work in real life
Weekly freshwater rinses make everything easier. On boats that live in salt, a quick rinse after a run, including under rails and along scuppers, pays off more than any product. Monthly, wash teak with a mild soap, agitate gently with the soft brush, and dry it. Twice a season, consider a brightening pass if color fade bothers you. Oils can be refreshed at those intervals, lighter in summer, slightly richer as fall cools and humidity drops.
Brightwork likes attention before it screams. Plan a light metal polish and reseal every six to eight weeks in high season. For varnish, a scuff and single maintenance coat before the hottest stretch prevents UV from gaining on you. Owners who wait until they see peeling spend more and lose more wood.
A case detail from On the Spot Mobile Detailers: saving a working deck
One late spring, a charter captain brought us a twenty‑six‑foot walkaround with deck teak that had been beaten into submission by hard bristle brushes and off‑the‑shelf acid. It looked clean from ten feet, but the grain was raised like corduroy, seams were dished, and every spill turned into a black map.
The plan was restraint. We rinsed, then soaked the deck with freshwater to slow any reaction. A gentle one‑part brightener brought the color back enough to see what we had. Instead of reaching for sanders, we used fine pads by hand along the grain to knock fuzz on the most worn paths, and we left the rest alone. We skipped oil, because slickness was a safety issue, and instead used a breathable synthetic sealer cut thin on a cool morning. Metal fittings around rod holders and the helm got a low‑cut polish and a ceramic that could survive fish blood and washdowns.
The captain called a month later to say the deck dried faster after washdowns and did not grab dirt the way it had. The wood still had scars from years of rough treatment, but we stopped the slide and cut maintenance time by half. That is a win for a boat that works for a living.
When ceramic coatings help, and when they do not
Ceramic coating is a hot button, and it has its place on boats. On smooth, non‑porous metals and painted or gelcoat surfaces above the waterline, it can extend the clean period, deepen gloss, and resist etching. Applied to stainless or chrome properly, it slows tea staining and reduces spotting. It even helps around helm stations and towers where fingerprints and sunscreen collect.
On teak, most ceramics do more harm than good. They seal pores, alter friction, and can create a patchwork if they wear unevenly. If a client insists on extra protection for a varnished caprail, a ceramic designed for clearcoats can work as a sacrificial layer over a fully cured varnish system, but it demands perfect prep and a willingness to reapply before failure. Use products built for the substrate, and treat manufacturer durability claims as marketing ranges, not guarantees on the water.
Integrating brightwork with the rest of the detail
A boat’s finish is a system. Wheels on a trailer, the car that tows it, the RV you use on fishing trips, all share some chemistry and technique, but they live in different worlds. Paint correction on a truck teaches you patience with edges that you can bring to a toe rail. Headlight restoration builds your touch for plastics that carry over to isinglass curtains. Interior coating experience makes you a better masker, which saves hours when you polish metal near soft vinyls and acrylics.
On the Spot Mobile Detailers leans on that overlap without forcing it. If a client asks whether a wheel coating product that survives brake dust will last on a stainless anchor roller, the honest answer is that heat, salt, and mechanical abrasion are a different beast. We pick a metal‑specific protectant and plan for touch‑ups, rather than overpromise and fight failure later.
Safety, environmental care, and the unseen details
Teak cleaners, oxalic gels, and polishes wash overboard if you are careless. Catch rinse where you can, especially under docks with little water exchange. Use biodegradable soaps. Neutralize acids before they hit the water. Wear gloves, keep a bucket of fresh rinse near your chemistry, and stage your tools where they will not kick into a bilge.
Watch footing. Oils and sealers are slick until they flash. Work in socks or clean boat shoes and post a friendly warning at the swim platform if people are onboard. Plan your path so you do not trap yourself at a bow with wet rails, and keep a clean towel in your pocket to grab a handhold without leaving a fingerprint.
Two quick checklists the crew actually uses
- Brush selection before chemistry: soft flagged nylon for maintenance, tampico for brightening, fine pad for corners, and nothing stiffer. Metal workflow every time: rinse, oxalic spot if needed, polish cool in shade, IPA wipe, then seal or ceramic with cure time protected.
Why some teak ages gracefully
Boats that keep their wood tend to share habits. Owners rinse after use, avoid harsh scrubs, and do not chase perfection with the wrong tools. They mask hardware before finishing, they catch drips, and they recoat before the sun wins. They accept that teak moves and that a proud bung or a hairline at a scarf joint is something to watch, not to grind flat.
Good detailing is craft and patience. It is choosing not to reach for the fastest cleaner because you know what it will cost a year from now. It is putting a hand on the wood before you work to feel temperature and moisture, and testing a polish on the back side of a cleat before committing to a face. It is the quiet satisfaction of walking the dock the next morning, when the light is low and every curve in the rail throws a clean line.
A final note from the field crews at On the Spot Mobile Detailers
Our teams spend as much time unlearning as learning. A new tech who came from car detailing wanted to attack a tea‑stained bow rail with a rotary and a heavy compound. We slowed him down. Ten minutes later, with a gentler polish by hand and a sealant, the rail popped without a hint of haze on the adjacent varnish. He grinned and said it felt like cheating. It is not. It is respect for materials, and it is how brightwork and teak repay you over seasons, not days.
Marine detailing rewards the long view. Build a routine that matches your climate and use, choose finishes that fit your patience, and give metal and wood the protection they need without smothering them. The boat will tell you what it wants if you pay attention. And when you are not sure, reach for the softer brush, the milder polish, and the mindset that the least you can do to get a good result is often the best choice.